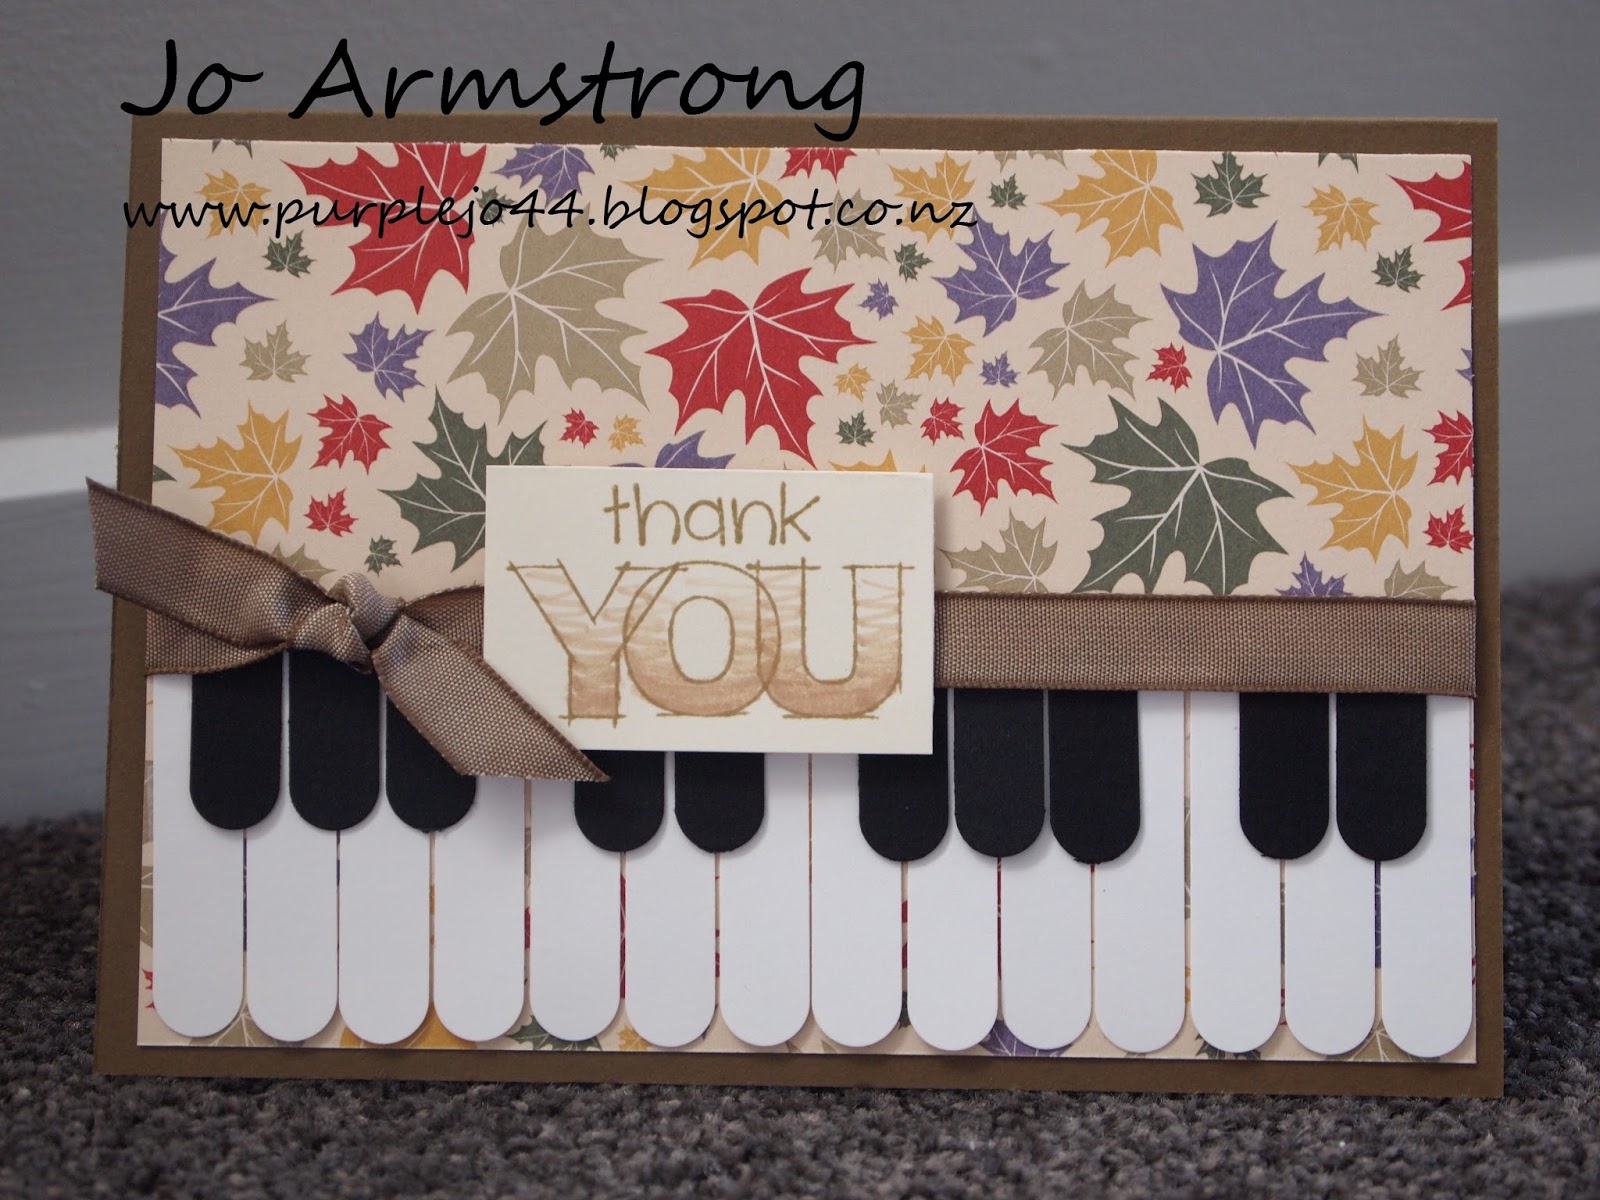
This gorgeous wee card was inspired by the "Chocolate Affair" stamp set which is the Stamp of the Month for August... only two days to go! This 16-piece stamp set is FREE with any purchase of $75 or more in the next two days... if you would like to add it to your order, click on the "Shop with me" button on the right.
I have made a little YouTube tutorial to go with it, because I like to add ribbon on my projects in a certain way, and this video will let you in on that secret.
This card (and video) are made with many many thanks to Marianne Lamont - my very helpful Australian contact - without whom they wouldn't have been possible! Thank you, Marianne!
I love this idea! Thank you Crafty Helen! It is simple and effective - and I just would never have thought of it!
I had a lot of fun constructing this piano card for the Heart 2 Heart Challenges this week... a musical challenge. Just a note about these challenges - anyone can join in! They are run by a team of very talented Consultants in the US (I think?) and their challenges are always interesting - and it's always so good for me to push myself a little outside what I usually do.
Thanks for stopping by!
The challenge on "Less is More" this week is to create a clean and simple card which utilises washi tape. I don't have any washi tape yet, although I've had a lot of fun making my own from leftover Creative Memories paper ribbon. I have used the technique which involves sticking it to scotch tape and leaving it in water until the paper is easily scraped away and leaves the design semi-transparent.
As I said, it's been fun - although I have to admit that form here it still just looks like CM paper ribbon!
I saw this fabulous idea on the "Less is More" Challenge site and I knew I just had to try it. I love how simple it was to create a moving card. I've attached a YouTube video showing how it's constructed - take a moment to view it, you'll be surprised at how easily you can create this card too!
The card is for the H2H challenge this week, which is to create a scene. The butterfly is made on the Cricut, with the CTMH Artiste cartridge.
Alright, the first thing you have to do is go to this website: http://www.myteacherstickers.com/
Choose a few sheets of stickers and add your child's teacher's name. If you want your own custom message, go to the section of the website for schools to be able to customise their own sticker and use that. For example, I wanted "Mrs Bruce says Ka Pai" which was never going to be available on a sticker made in the USA. So I entered Mrs Bruce says as the name of the school and Ka pai as the message. Well, you will get the idea.
Stickers cost $2.69 per sheet of 42, and each sticker is about 1.5" in diameter. Postage to NZ is $4. Basically I bought eight sheets and it cost me a total of $31 NZ, which is absolutely a bargain... I actually think I overbought, but had no idea how many would come.
So ten days later your stickers will arrive in the post. Now it's time to play.
The options to dressing them up are endless. I cut the stickers into sets of nine, and KEPT the large margin at the top of the sticker sheet. For this very simple card I cut a card shape on the Cricut 4.5" tall, but folded it in a different place, giving me enough space to fold the binding round the stickers. I used my perforating blade on my trimmer and cut a perforated line at the top of the sticker sheet, and punched two holes in each one. I also punched two holes through both layers of the card and scored it where I wanted it to fold open.
I threaded bakers twine through the stickers and the card front and back, and tied a double bow on the front.
After that, it was just a case of dressing up the front.
There you go... a simple but oh so very very cool present for your child's teacher at the end of the academic year.
Interested in a workshop or party to create this really neat gift? Contact me and we can arrange it.
The YouTube video of a very similar project is here, so that you can see the process step by step:
This week's challenge at Heart 2 Heart Challenges is to make the Sentiment the focus of the card. I thought about this one for ages and have come up with this wedding card. It's a 6" square card, with Elegant Soiree DSP and cardstock in Grey, Soft Suede, Not Quite Navy and Baja Breeze. The bride and groom icons come from the Artiste cartridge for the Cricut, along with the Sentiment cut and the swirly frame.
I know it looks simple... but I found this card ultra hard to do. I tried to make a "one layer" card a while ago but struggled with the whole idea and gave up. This one follows the sketch at Clean & Simple this week, which didn't actually have to be a one layer card, but I gave myself that extra challenge. I like the end result. The colour combination is fresh and it's so simple that it could be easily recreated for a whole stack of notecards and gifts.

 This gorgeous wee card was inspired by the "Chocolate Affair" stamp set which is the Stamp of the Month for August... only two days to go! This 16-piece stamp set is FREE with any purchase of $75 or more in the next two days... if you would like to add it to your order, click on the "Shop with me" button on the right.