Showing posts with label CTMH. Show all posts

Tuesday, September 15, 2015

It's National Stamping Month!

Can we call it International Stamping Month?

Welcome to the Australasian Blog Hop for September's very special limited edition stamp sets. There are three special stamp sets to choose from this month, all available from your Close to My Heart Consultant with no additional purchase necessary. Check with your consultant for your local price, but here in New Zealand the cost is $25 a set. Buy one or two or all! When you purchase all three sets for $64, you will save $11.
If you have arrived here from Maz Wood's Blog, Inky Fingers, then you are in the right place. The hop is one big loop, so just continue clicking around till you come back to where you started. With three stamp sets to feature, you are sure to see all sorts of ideas for the different packs.

My favourite set was the cardmaking one, and since I have been having a play with the watercolour paints this week I decided to combine the stamps with my new CTMH paintbox. I absolutely love this style of font. It's funky and fresh, and goes so well with the organic style of unpredictable watercolours running wherever they want to!
My three cards also feature some embossing. This combines really well with the watercolour technique, as the embossed wording resists the colour and remains bold, shiny and legible.

I tried out three different techniques with each of the three cards.

Card #1 - Hello

1. Stamp the sentiment on watercolour paper with black archival ink.
2. Sprinkle with black embossing powder, shake off excess and heat set.
3. Paint background with watercolour paints. Use a lot of water so that the colours run into each other.
4. Allow to dry.
5. Back with Cranberry cardstock and set on a Colonial White card.


Card #2: Oh Hey Thanks

1. Mask a piece of watercolour paper with painters tape.
2. Wet paper and paint with watercolour paints, right up to the painters tape.
3. Allow to dry fully.
4. Stamp with white pigment ink. Emboss with white powder.


Card #3: Honeycomb

1. Paint entire watercolour paper with watercolour paints. Allow lots of spreading.
2. Cut honeycomb card from Artfully Sent and Pacifica cardstock.
3. Stamp "hello" sentiment in Pacifica ink on White Daisy speech bubble.
4. Put the card together by adhering watercolour paper to the back of the honeycombed cover, and raise speech bubble up on foam tape.


Please leave a comment before you head off to the next blog on our hop, which is Mez's Craftroom.

Tuesday, September 1, 2015

September's Stamp of the Month


Welcome to the Close to My Heart Australasian Blog Hop for September. If you have arrived here from Tracey's Blog then you are in the right place! The link for the next blog will be at the bottom of this post. Our Stamp of the Month is a very sweet set called "Paper Garden". It co-ordinates with images you can cut on your Cricut with the Artiste cartridge.

Paper Garden Stamp of the Month September, $10 / $33

I have seen so many wonderful things done with this set, and I'm sure that the other girls on the blog hop will showcase some very creative projects, but I have chosen to keep mine very very simple.
When I sell my cards at fairs and markets I am often asked for sympathy cards, which I rarely have many of. This stamp set however really appealed to me as the central image for a sympathy card.
I used the colour trio of Juniper, Glacier and Thistle for my cards, but any colour combo would work.
My cards are 4x4", so the base is a Juniper piece 8x4", scored and folded in half.
The next layer is Glacier measuring 3.75x3.75", and the top layer is White Daisy, 3.5x3.5".
I used the "rock n roll" technique for stamping the flower image, first using Glacier and then rolling just the outside edges in the Juniper.
I stamped the sentiment with Thistle.
I tied the ribbon / twine to the White Daisy and Glacier layers before adhering them to the Juniper base.
Look to the Light, Set of 5, $18
For my sentiment, I chose the beautiful sayings from the "Look to the Light" set, which are so appropriate and supportive. However, if you want a less religious feel to the cards, I would recommend "Big Hug", which again is perfect for sympathy cards.

Big Hug Set of 10, $33
Thank you so much for hopping by! Please leave a comment before you head on over to the next blog, which is Leah Cameron's Corner.


Tuesday, August 18, 2015

Introducing the Zoe Paper Packet

Welcome to Close to My Heart's Australasian Blog Hop for our newest paper packet - Zoe!
If you have arrived here from Mez's Craft Room then you're in the right place. The blog hop is one big circle, so by clicking on the link at the end of this post, you will be taken to see the next inspirational ideas.

I have been having a lot of fun designing pages with this paper packet. I teamed it with Kraft cardstock, which is a firm favourite with my ladies, and brought in a little bling. Plus I'm on a colouring kick, and experimenting with different techniques.

Feel free to use the sketch I created for this page, and of course please also check out my Scrapping Sketches ebook, which has forty designs for you to choose from.


Get the look

Watercolouring technique - first I stamped my images with Archival Black ink, and allowed them to dry thoroughly. I used a soft bristle brush dipped in water and then picked up ink from the lid of my ink pad, and brushed this onto my images before fussy cutting them out.


Stitching - I added stitching to the page by first using the stitch guide ruler and piercing tool, then threading black cotton through the holes.

 
Doodling - Once I had cut out my photo mats to the desired size, I used my Uchida black journaling pen to draw a fine border around the inside edges. Don't worry if your lines aren't perfect - that's the point! I never use a ruler for this kind of line.


Bling - I cut a Cricut circle and used this as a guide before applying many Bitty Sparkles to the page.


Supplies used on this project

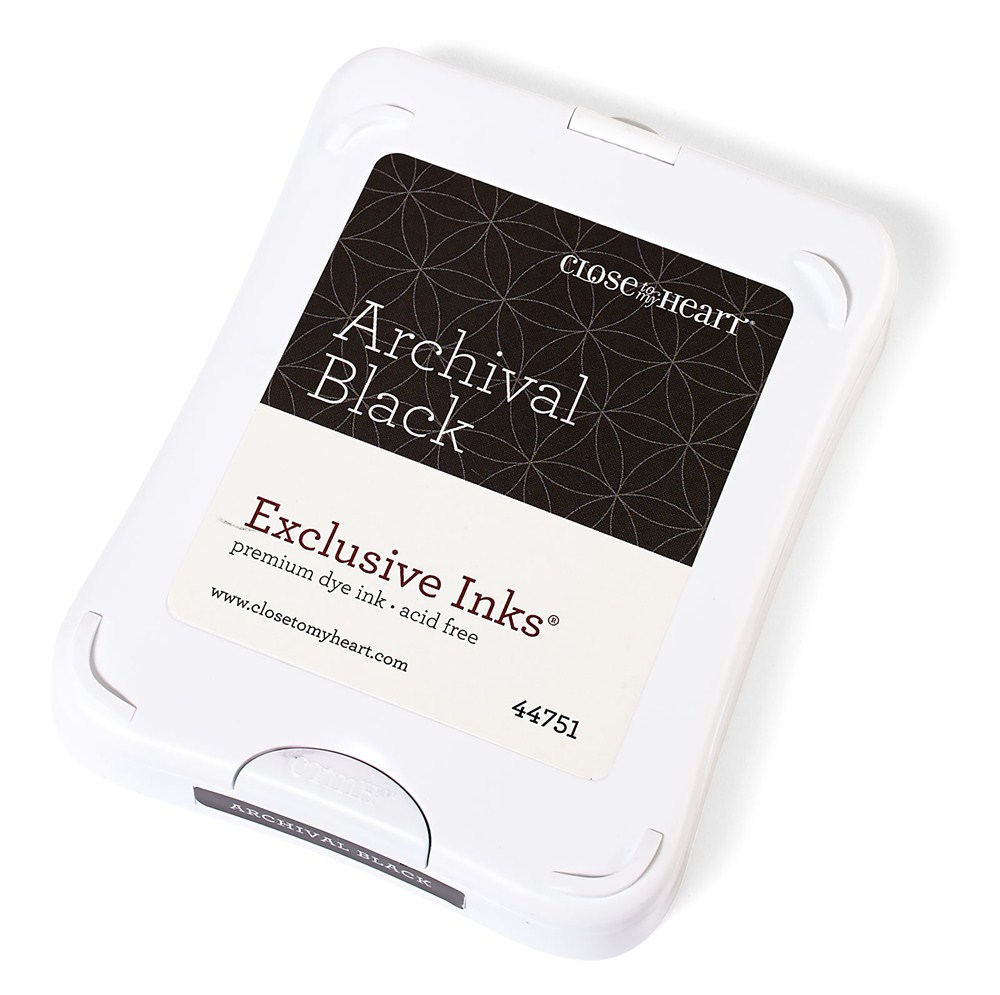
Archival Black Ink, $12.50, 44751

Happy Birds set of 9, C1600, $25

Duck Easy Stick Adhesive Z3033, $30 for four dispensers
Bitty Sparkles $5 Z1263, pack of 100
Non-stick micro tipped scissors $22.50 Z1836
Zoe Paper Packet, 6x papers, 6xcardstocks. $18 X7197B
Stitch Guide $23.50, Z1852

Coral Shimmer Trim $8.50 Z3088

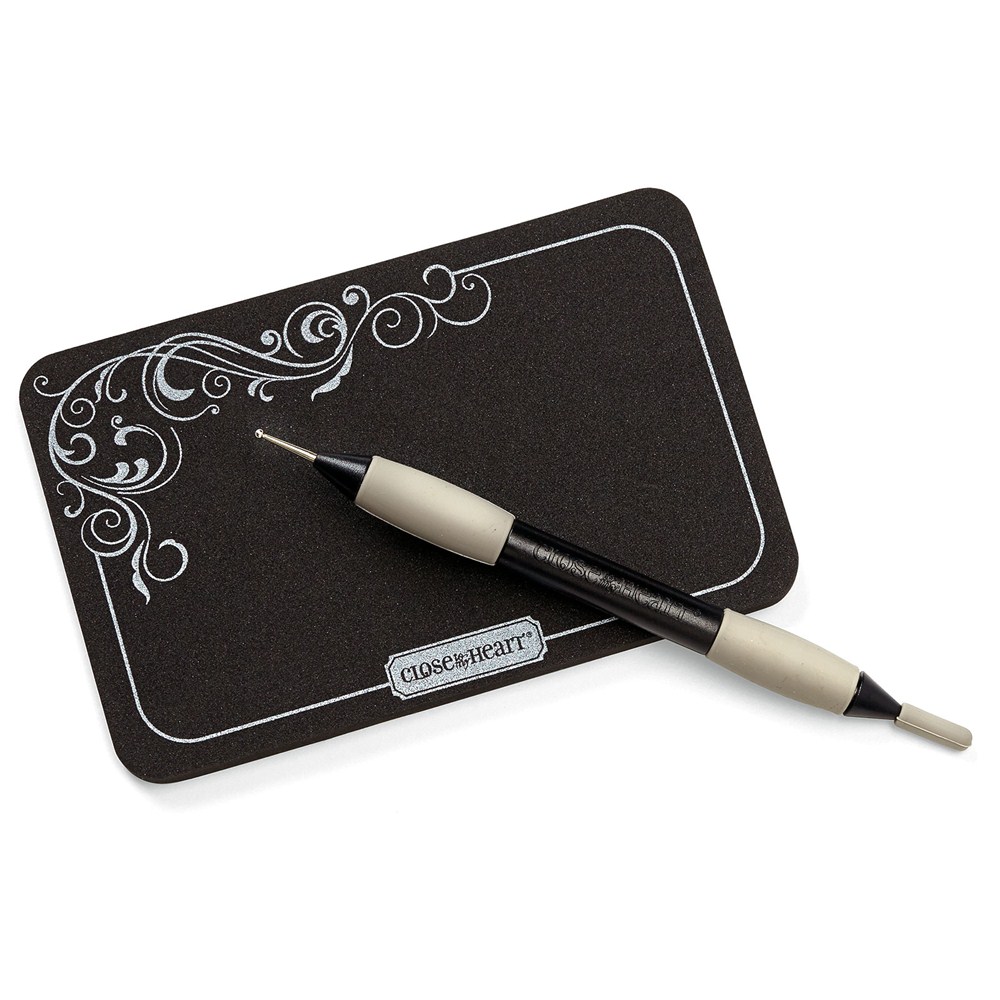
Piercing and Embossing Tool Kit $11.50, Z2046


The great news is that Zoe and many of our new product line are already available to purchase.
To purchase these and many more Close to My Heart products, click here or on the links in the side bar.
For more exciting ideas for your Zoe Paper Packet, continue on through our Zoe new product blog hop. Your next stop is Creating With Kara Davies, where I know Kara will have some more creative project ideas.

Thanks so much for hopping by!

Friday, August 14, 2015

First Day of School

Over on the Between the Fold Challenge site this week the theme is "back to school", and it reminded me that I've never gotten round to scrapbooking Matthew's first day at Primary School. I love these cute photos, and I'm thrilled that I've finally done something special with them.
The paper pack I chose to use was "Chalk It Up". Unfortunately after this month (August) this pack will not be available anymore, so I hope everyone is all stocked up!
I used Artbooking and my Cricut to cut the title (at 2") and the notebook page for journaling (at 4").
The double page before the photos.
I created the arrow decoration using washi tape, and because it would have blended with the black background too much, first backed it on white daisy cardstock.
Colours on the page are: sorbet, lagoon, colonial white and flaxen.
I've added the sketch for this double page so that you can follow the same sizes that I used. If you like this sketch, please make sure you also check out my scrapbooking ebook, which has forty different sketches for you to try out.


Thursday, August 6, 2015

Between the Folds

A friend referred me to a new CTMH Challenge site this week, and since I've been having a lot of fun with the new Zoe paper packet, I thought that I would create something fun for their first challenge.
Click through to the Between the Folds Challenge site to join in the fun! This week the theme is "Anything Goes" so really you've no reason not to!

The Artbooking Cartridge for the Cricut is full of 700 images, and although I use this cartridge often, I've no where near scratched the surface of what it can do.
I used it to create a 8x6" mini book, bound by book rings. The colours I have used are the ones to be found in the Zoe range: Sorbet, Glacier, Whisper, Slate, Sweet Leaf, Canary and White Daisy.

Below are the photos of every page. There are six whole pages, two half pages and one envelope page.


The Zoe range is available now from your Close to My Heart consultant. You can have a look at it here, along with its co-ordinating embellishments.

To complete this project you will need:

The Zoe Paper Packet
Coral Shimmer Trim
3x Book rings

Tools required:

Artbooking Cartridge for Cricut
Sanding Kit
Uchida Journalling Pen
Adhesives
Micro tipped scissors