Sunday, May 31, 2015

June's Stamp of the Month

Can it really be June already?!
Welcome to June's Stamp of the Month Blog Hop created especially for you by Australasian Consultants. If you have arrived here from Shauna's Blog, Passionate About Pages, you're in the right place. If you've stumbled on us by chance, don't panic! The blog hop is one big circle, so by clicking the links at the end of all the posts you'll be able to view all the inspiration and come right back round to where you started.
This month's special stamp set is one I've been looking forward to using for quite some time. It's just so cool and cheerful. My daughter loves it too :-) and she's thrilled that it's come out of its wrapper at last.
I have to admit that the ideas for this layout came from Liz Mullins Johnson, a CTMH consultant in the USA. She posted a beautiful photo of a single page which used this stamp set, so I converted it into a double-page spread.

 
For this project I used White Daisy cardstock and teamed it with Pear, Lagoon and Thistle. For embellishments I used the Lagoon Hearts 1" washi tape, the Purple Glitter Gems and the White Shimmer Trim. Click here to be taken to my shop to see these and many other beautiful embellishment ideas.


I stamped the black outlines of the ice creams in Archival Black ink on White Daisy cardstock, then coloured them in with Shin Han markers and cut them out. To give some extra dimension the embellishments are popped up on foam tape.


The "Ice Cream Dream" stamp set can only be purchased in June. It's worth $33NZ, but if you place an order with me worth $75 or more you can get it for just $5. Click here to view the Stamp of the Month page on my website.
Thanks for hopping by! Won't you leave a message before skipping through to view more inspiration on Simone's blog, Scrappy Matters?


Saturday, May 23, 2015

May's Second Workshop

Our second workshop this month featuring the Jackson paper packet was for a layout which allows room for enlargements.
Have a look below for the layout guide and the finished pages.
We stamped a Distressed Background onto the Glacier strips using Cocoa ink, and we created the "Reel Life" embellishment using the Rock n Roll technique. The great thing about this stamp is that there is a clear delineation between the two colours (there's a gap on the stamp) so it's easy to get the colours pretty much where you want them.
Next month I have two workshops planned: one using the Stamp of the Month and one using the Wanderful paper packet. Make sure you book in on my Facebook events page so that I know you're coming!


Monday, May 18, 2015

May's First Workshop

If you're disappointed to find you missed last Friday's Jackson workshop, don't panic! I have a second Jackson workshop running this Friday night, with a brand new double layout. Reserve your place on my Facebook events page.
We had seven ladies come along on Friday night and all completed their layouts. We added texture with background stamping, and dimension with daubing. It was heaps of fun and very relaxed.
Scroll down for the featured layout.


Sunday, April 19, 2015

Getting the best impression

At my most recent workshop I chatted to some ladies about how to get the best impression from their My Acrylix stamps, and realised that it might be a good topic for a blog post.
There are a few little tips and tricks that I've learned over time. You can make sure you get lovely clear images by looking after your My Acrylix stamps in the following way. Plus, as always, practise makes perfect - you'll find that the more you use them the better you will get.

Straight out of its packet, your acrylic stamp (especially a large one) doesn't give a very consistent impression, because the coating on the stamp causes the ink to bead up unevenly.

Season your stamp

1. Place stamp on a block and rub gently on your arm. Your stamp will become cloudy.


2. Ink well (tap tap twist twist) in a pale colour such as Bamboo.

3. Stamp multiple times on scrap paper, until the impression you are getting is even.

4. Clean with the stamp scrubber and spritz cleaner especially made for My Acrylix stamps.

Discolouration

Over time your stamp will build up colour, especially if you use intense inks such as Ruby or Black. This is a natural process and can't be completely avoided, but you can minimise colouring by seasoning your stamp (as above).
Also b sure to clean the stamp after you have used it with Spritz Cleaner sprayed on the stamp scrubber. Don't let the stamp sit for long periods of time with ink on it.
I have been able to remove some colour by soaking the stamp overnight in a strong solution of Stamp Spritz.
Using Archival ink and Versamark ink will colour your stamp permanently and is one of the reasons I only use Archival ink when there is a very good reason.

Conditioning your My Acrylix stamp

When you use the Spritz Cleaner after using your stamp, you are not only removing the ink, you are also conditioning the stamp. This keeps it supple. Many lower quality acrylic polymers crack or harden over time and make stamping a clean impression impossible. When you condition your stamp you are increasing its stamping life, so don't skip this step!

Beading

Sometimes, especially with stamps that have large blocks of solid colour, it's difficult to get a flat, consistent image. The ink continues to swell up in some places and not in others. To stop this happening you will need to break through that oily (water resistant) layer left over from manufacture. I find that stamping it again and again on scrap paper will eventually reduce the beading, but you can speed up this step by rubbing the stamp gently with a clear rubber (or adhesive remover). Don't forget to use the spritz as well, and your stamps should be giving clear impressions in no time.

Your stamping surface

If you are still struggling to get a clear impression after following the tips above (and this sometimes happens with the centre of a large stamp), check the surface of your stamping station. I use the underside of my VersaMat, which is foam, and gives me a soft spongy surface so that the centre of the stamp can find the paper. However, if you don't have a VersaMat, use the foam packaging that comes with your My Acrylix stamp set. It's important that the surface underneath your paper is soft, and not hard.

Saturday, April 18, 2015

April Workshop - Pathfinding


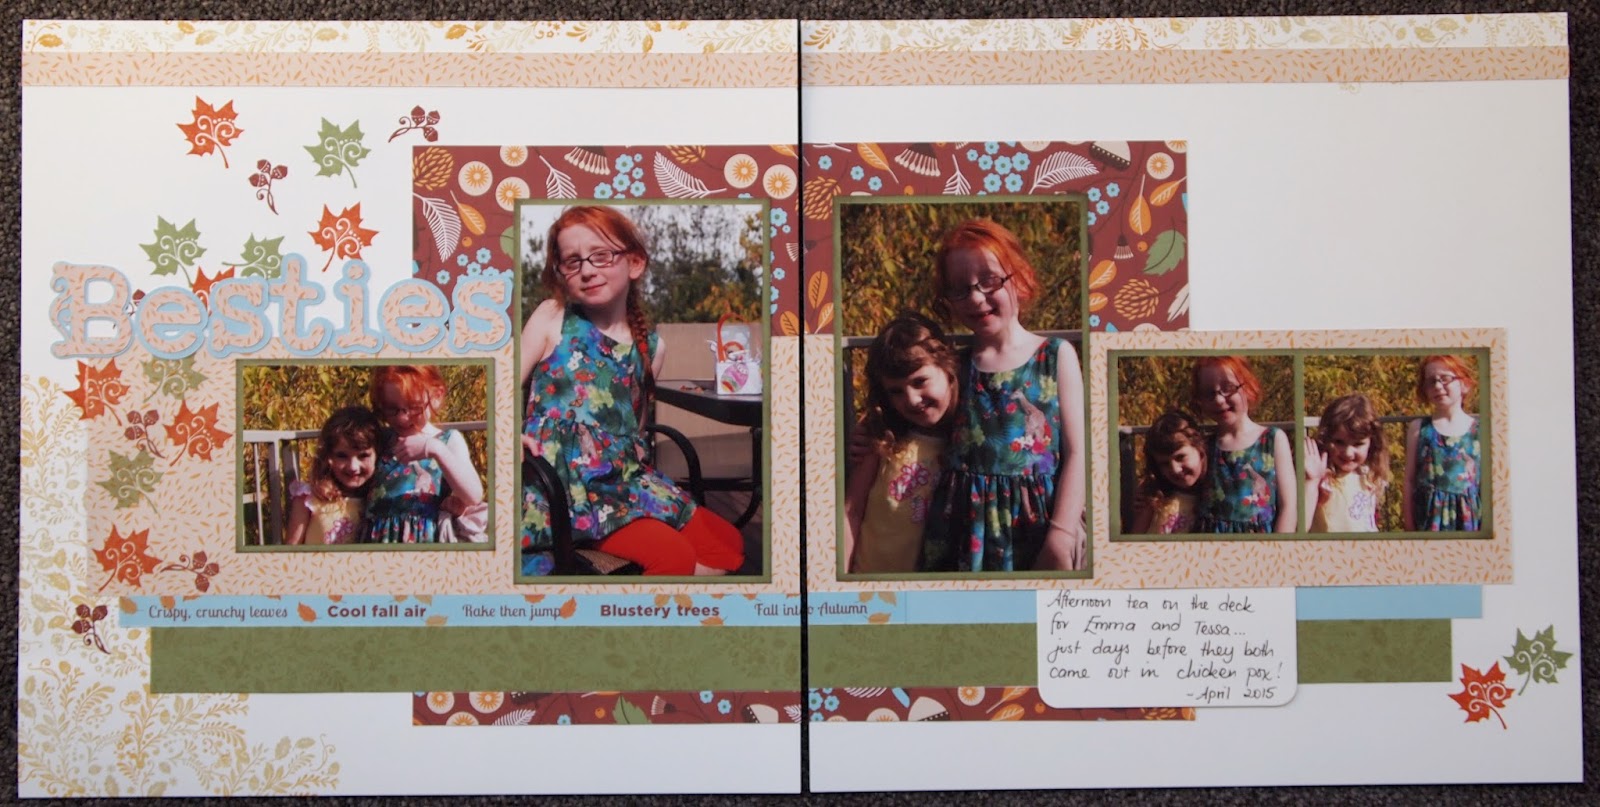
Seven ladies came to create their Pathfinding pages on Friday night. We used a decorative stamp from the Pathfinding WOTG kit to create the border at the top of the pages, plus the pattern on the bottom left of the pages.
 We used the leaf and acorn stamps from the same set and some strong colours like Barn Red, Olive and Autumn Terracotta to overlay the pattern and create our own embellishments.

 The ladies created some lovely pages and we also had a good time catching up with news and views form the month. Next month we will have two Friday nights to get together.

Wednesday, April 15, 2015

Kids Holiday Class

Some fab projects were completed today at the second kids holiday class. First the girls made a little trio of 3" notecards using the Cuddly Salutations hostess set.


The second project was a trifold card, and the third a sticky note gift. We just had time to squeeze in a fourth project which was a birthday swing card using Thistle cardstock and Confetti Wishes paper.

Wednesday, April 8, 2015

Kids' Holiday Class

We had a great kids' class this morning! Our focus was on completing one of the new Close to My Heart Folio Albums. These gorgeous wee albums are strong chipboard covers over a concertina fold of Kraft panels 4x4" in size. There are spaces for 10 photos, stories or sentiments on the inside, plus of course the outside covers for decorating.

 We used papers and co-ordinating cardstock colours from the brand new Blossom range, a paper packet exclusive to the new Seasonal Expressions 2 book.


The children all completed their albums and now just have to add the photos and journaling.

As you can see by the photos, it was a beautiful day and the Gleniti Hall is a fabulous venue with lots of natural light!

Watch this video for an insight into how the Folio Album is put together and some ideas for using the album for a Kids' Class yourself.