Thursday, August 27, 2015

Between the Folds

This week's challenge on Between the Folds is to use the Cricut on your pages - so I'm stoked that I can enter again!
I created a page which was a bit SCARY for me... I used patterned paper from lots of different paper packets; which is something I never do! But I wanted to show how easy it is to use up scraps of paper that you might have left over, and this is a very very simple sketch.


The Cricut is really the only "dressing up" that I did. I used Artbooking again (which is my go-to cartridge at present) for the title, the plaque, the branch and the leaves.
The colours I've used are Saddle, Fern, Crystal Blue and Thistle. The daubing is in Chocolate. The papers are from Wanderful, Ivy Lane, Arianna, Laughing Lola, Yuletide Carol and Balloon Ride.


Thanks for stopping by!

Tuesday, August 18, 2015

Introducing the Zoe Paper Packet

Welcome to Close to My Heart's Australasian Blog Hop for our newest paper packet - Zoe!
If you have arrived here from Mez's Craft Room then you're in the right place. The blog hop is one big circle, so by clicking on the link at the end of this post, you will be taken to see the next inspirational ideas.

I have been having a lot of fun designing pages with this paper packet. I teamed it with Kraft cardstock, which is a firm favourite with my ladies, and brought in a little bling. Plus I'm on a colouring kick, and experimenting with different techniques.

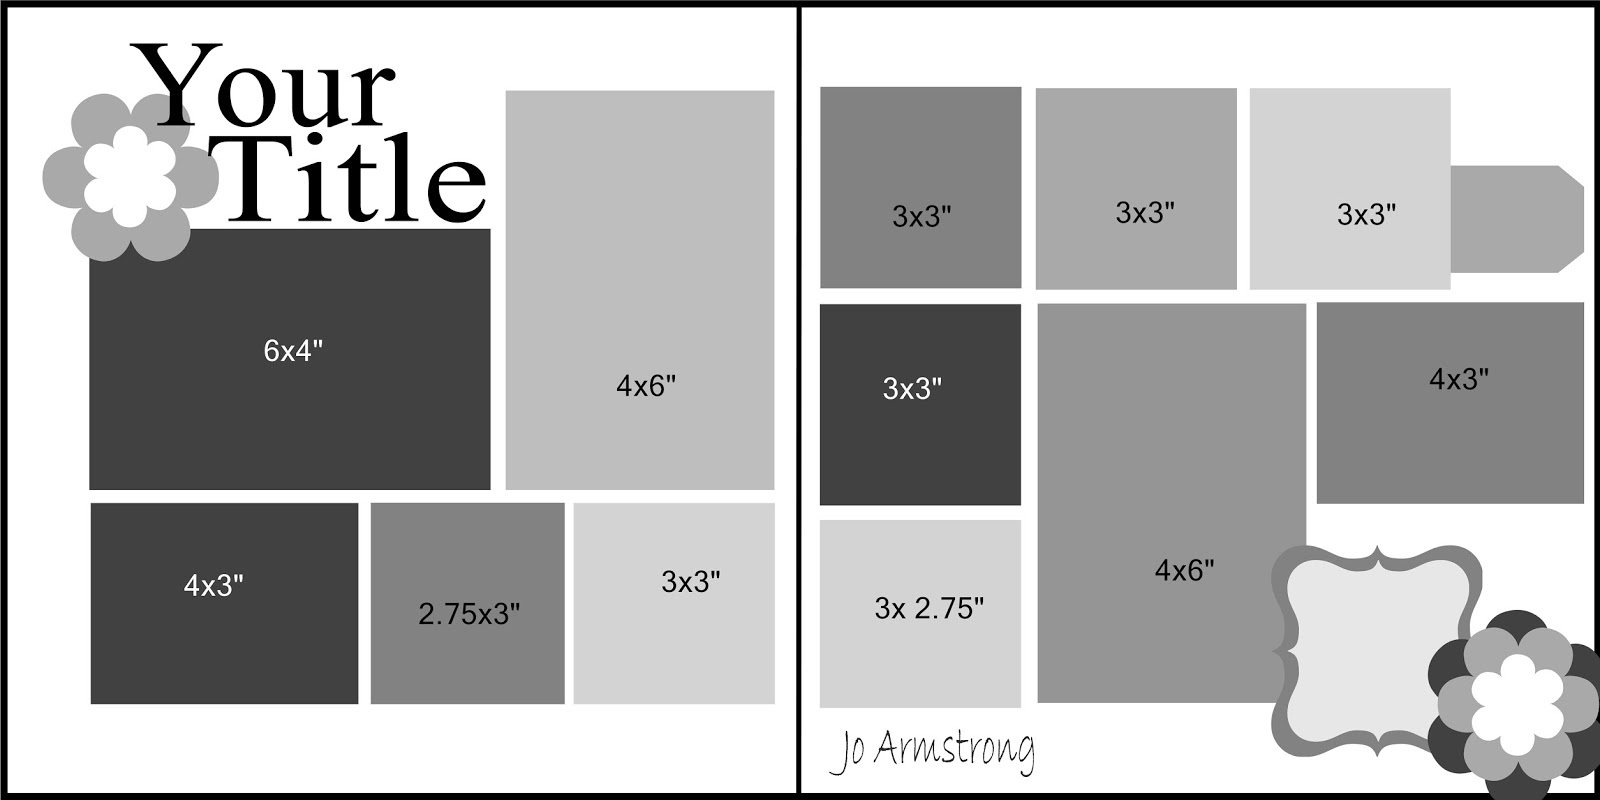
Feel free to use the sketch I created for this page, and of course please also check out my Scrapping Sketches ebook, which has forty designs for you to choose from.


Get the look

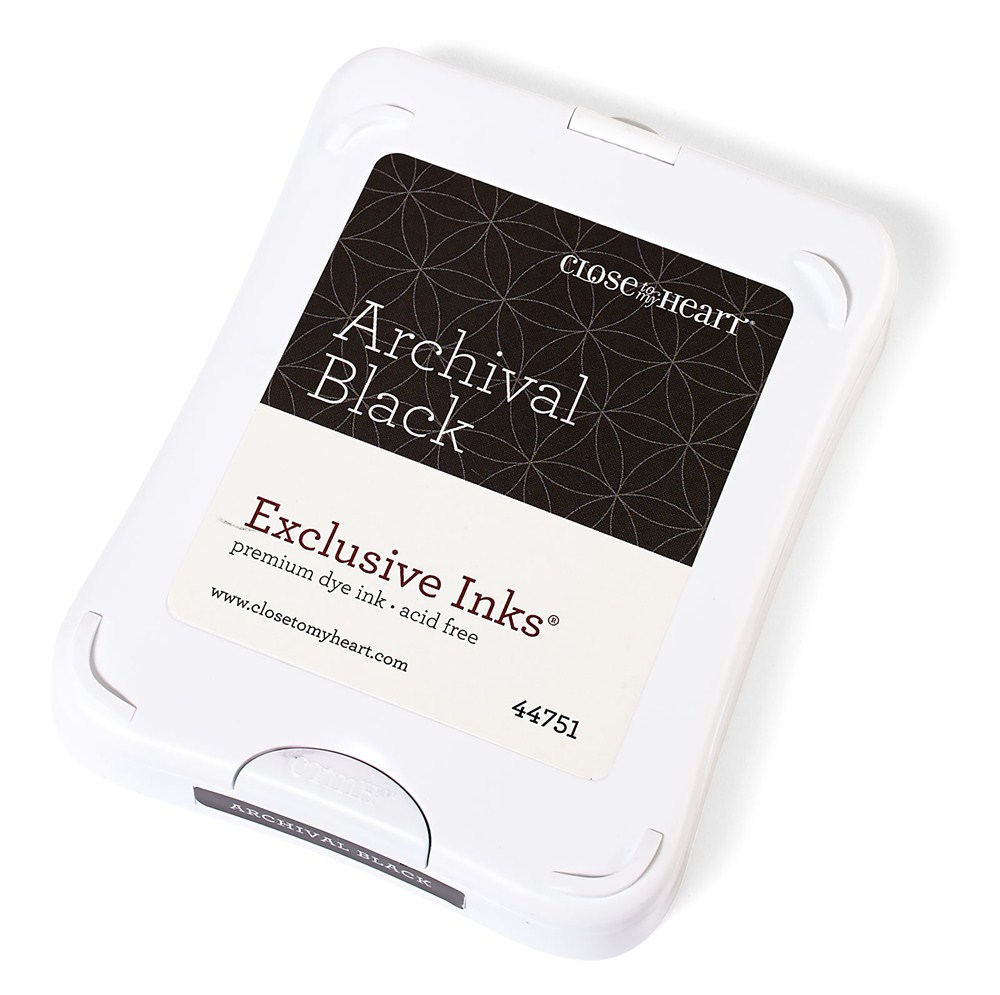
Watercolouring technique - first I stamped my images with Archival Black ink, and allowed them to dry thoroughly. I used a soft bristle brush dipped in water and then picked up ink from the lid of my ink pad, and brushed this onto my images before fussy cutting them out.


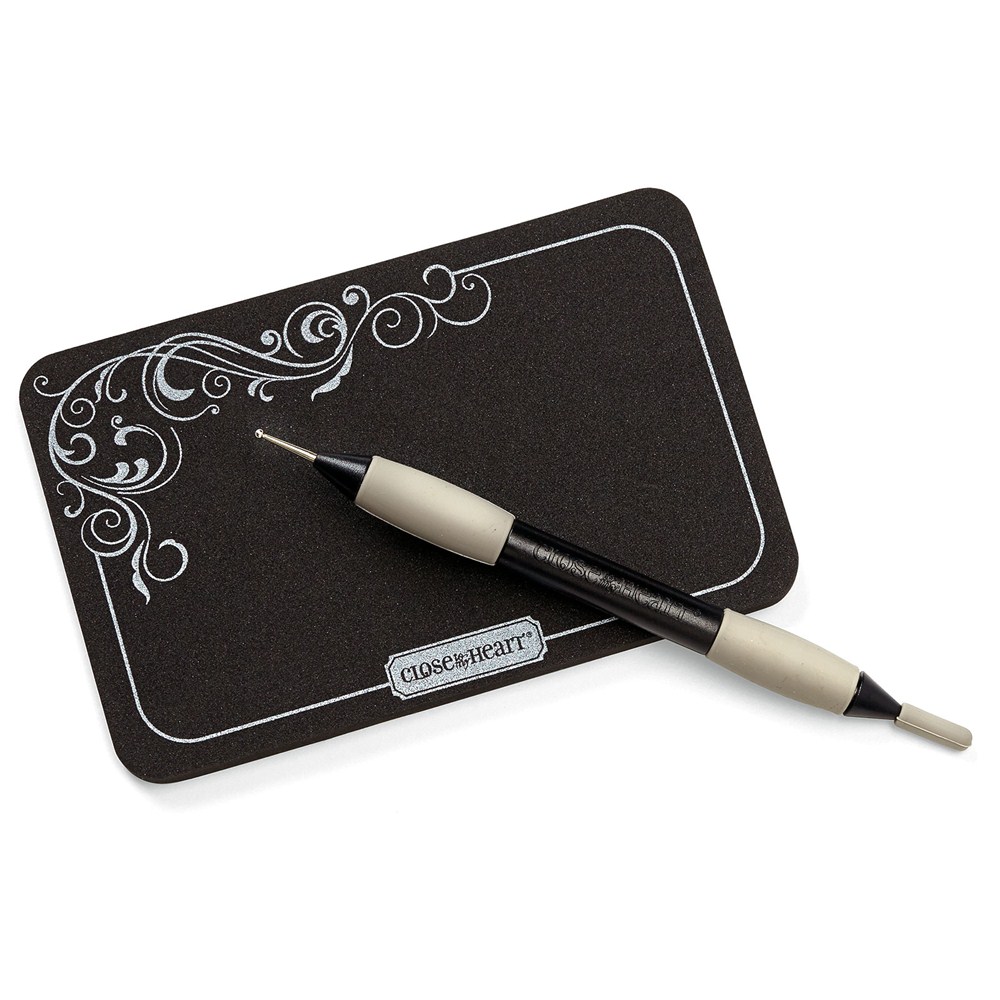
Stitching - I added stitching to the page by first using the stitch guide ruler and piercing tool, then threading black cotton through the holes.

 
Doodling - Once I had cut out my photo mats to the desired size, I used my Uchida black journaling pen to draw a fine border around the inside edges. Don't worry if your lines aren't perfect - that's the point! I never use a ruler for this kind of line.


Bling - I cut a Cricut circle and used this as a guide before applying many Bitty Sparkles to the page.


Supplies used on this project

Archival Black Ink, $12.50, 44751

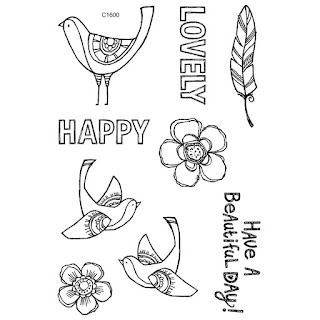
Happy Birds set of 9, C1600, $25

Duck Easy Stick Adhesive Z3033, $30 for four dispensers
Bitty Sparkles $5 Z1263, pack of 100
Non-stick micro tipped scissors $22.50 Z1836
Zoe Paper Packet, 6x papers, 6xcardstocks. $18 X7197B
Stitch Guide $23.50, Z1852

Coral Shimmer Trim $8.50 Z3088

Piercing and Embossing Tool Kit $11.50, Z2046


The great news is that Zoe and many of our new product line are already available to purchase.
To purchase these and many more Close to My Heart products, click here or on the links in the side bar.
For more exciting ideas for your Zoe Paper Packet, continue on through our Zoe new product blog hop. Your next stop is Creating With Kara Davies, where I know Kara will have some more creative project ideas.

Thanks so much for hopping by!

Friday, August 14, 2015

First Day of School

Over on the Between the Fold Challenge site this week the theme is "back to school", and it reminded me that I've never gotten round to scrapbooking Matthew's first day at Primary School. I love these cute photos, and I'm thrilled that I've finally done something special with them.
The paper pack I chose to use was "Chalk It Up". Unfortunately after this month (August) this pack will not be available anymore, so I hope everyone is all stocked up!
I used Artbooking and my Cricut to cut the title (at 2") and the notebook page for journaling (at 4").
The double page before the photos.
I created the arrow decoration using washi tape, and because it would have blended with the black background too much, first backed it on white daisy cardstock.
Colours on the page are: sorbet, lagoon, colonial white and flaxen.
I've added the sketch for this double page so that you can follow the same sizes that I used. If you like this sketch, please make sure you also check out my scrapbooking ebook, which has forty different sketches for you to try out.


Thursday, August 6, 2015

Between the Folds

A friend referred me to a new CTMH Challenge site this week, and since I've been having a lot of fun with the new Zoe paper packet, I thought that I would create something fun for their first challenge.
Click through to the Between the Folds Challenge site to join in the fun! This week the theme is "Anything Goes" so really you've no reason not to!

The Artbooking Cartridge for the Cricut is full of 700 images, and although I use this cartridge often, I've no where near scratched the surface of what it can do.
I used it to create a 8x6" mini book, bound by book rings. The colours I have used are the ones to be found in the Zoe range: Sorbet, Glacier, Whisper, Slate, Sweet Leaf, Canary and White Daisy.

Below are the photos of every page. There are six whole pages, two half pages and one envelope page.


The Zoe range is available now from your Close to My Heart consultant. You can have a look at it here, along with its co-ordinating embellishments.

To complete this project you will need:

The Zoe Paper Packet
Coral Shimmer Trim
3x Book rings

Tools required:

Artbooking Cartridge for Cricut
Sanding Kit
Uchida Journalling Pen
Adhesives
Micro tipped scissors


Saturday, August 1, 2015

Jo's CTMH Customer Rewards Club

I have been running a hostess rewards club for the last year and my ladies enjoy being a part of it, but I've been trying to think up a way to reward and thank all customers who shop with me, and after talking with a couple of my CTMH sisters, I think I have a plan!
Every time I place an order over $250 I get to spend the hostess rewards, and this is one of the perks of being a consultant with Close to My Heart. However, I'd really love to share those freebies with you, my regular customer.
My new rewards system will be based on a "ladder" idea, where the person at the top of the ladder gets to spend the $40 credit on stamp pads, stamp sets, paper packers, Workshop on the Go kits, and other essentials. After you've gotten your freebies your name will move to the bottom of the list and start to work its way up again.

How can I get my name on the ladder?

When you place an order worth $50 or more with me in a single month, your name will automatically by put at the bottom of the ladder.

How long will it take to work its way to the top?

That will depend on how many people are on the list, but it could be anywhere between 5 and 9 months.

Can I earn more than $40 in credit?

Absolutely! If you host a party in your hostess month or get some outside orders you could earn more credit and the chance to buy half price items too.

What if I miss a month?

If you don't make a $50 order one month your name will move to the side of the ladder and go back on the next time you place an order.

So who is on the ladder now? Has it been started?

Yes! July was a great month for sales (thank you, ladies) because of our wonderful hostess stamp set specials. If you placed an order of $50 or more with me in July (you know who you are) then you are on the ladder. I have drawn the names randomly out of a hat for the sequence.

If you have any questions about the rewards programme I would love to hear form you! Please don't hesitate to contact me.