Friday, August 30, 2013

A Chocolate Affair Sundae Card

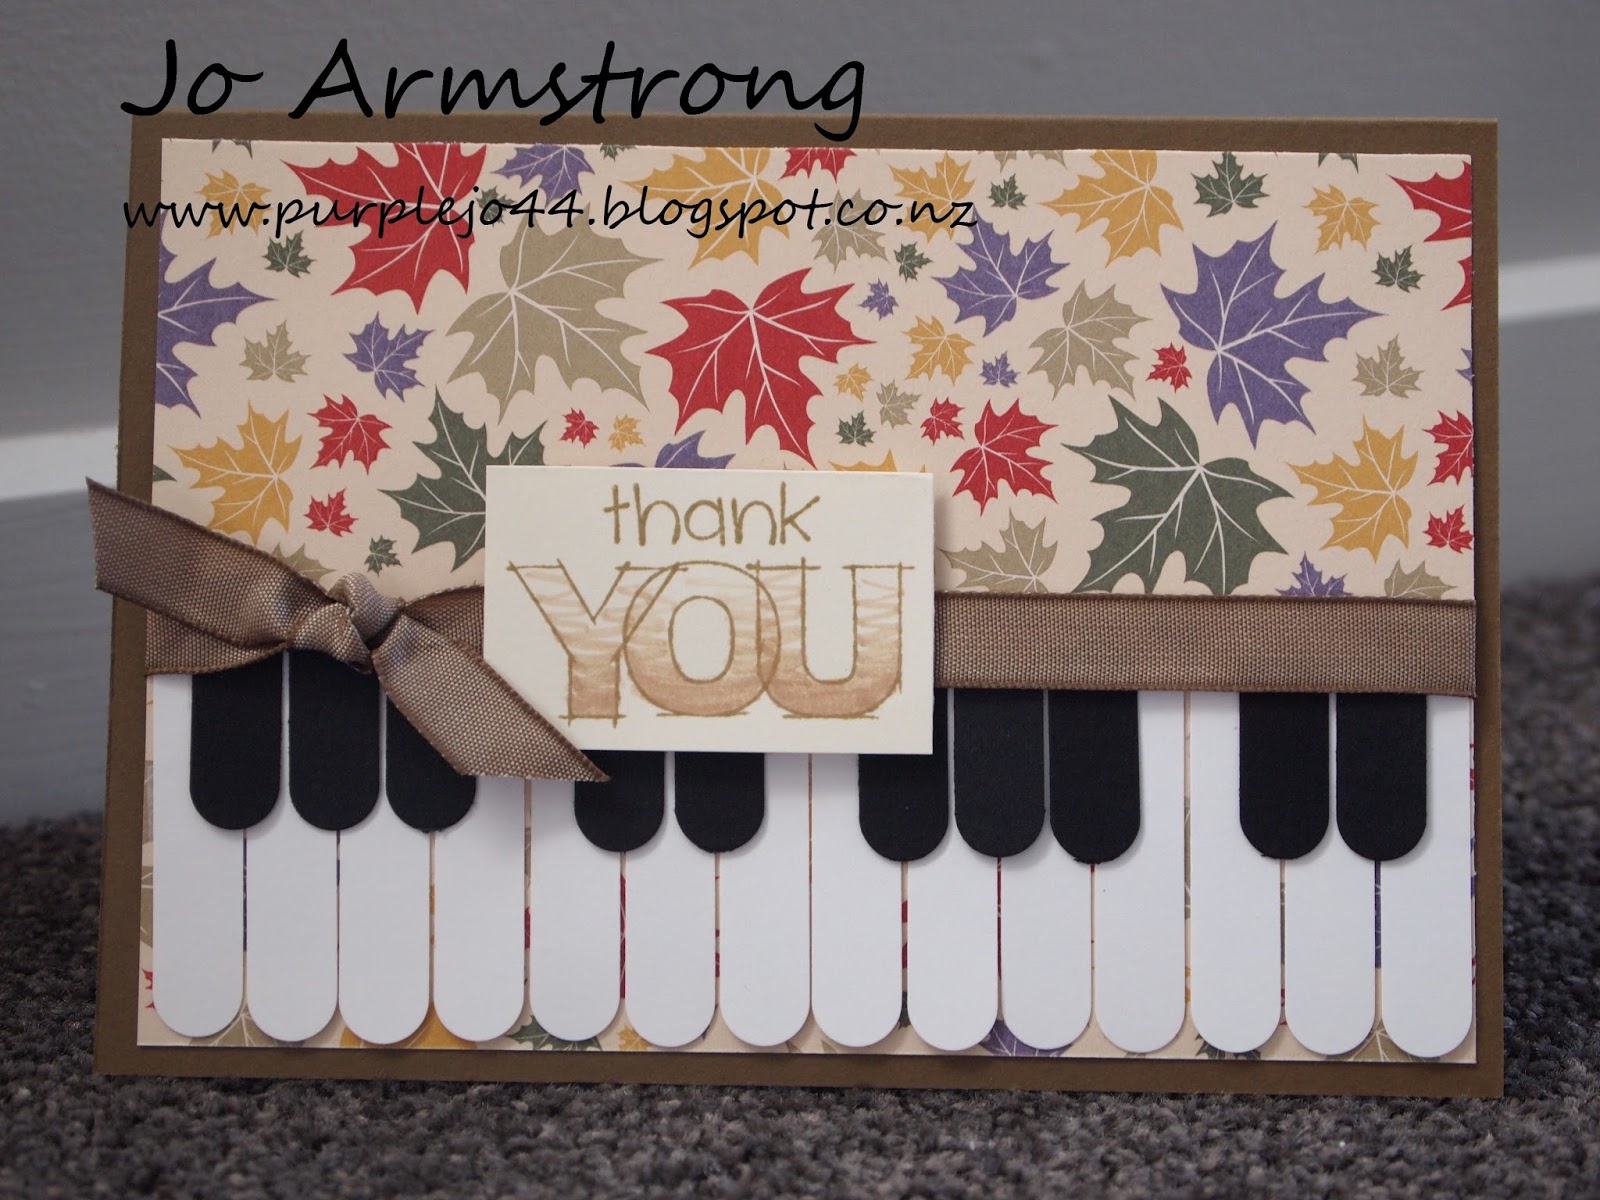
This gorgeous wee card was inspired by the "Chocolate Affair" stamp set which is the Stamp of the Month for August... only two days to go! This 16-piece stamp set is FREE with any purchase of $75 or more in the next two days... if you would like to add it to your order, click on the "Shop with me" button on the right.
I have made a little YouTube tutorial to go with it, because I like to add ribbon on my projects in a certain way, and this video will let you in on that secret.
This card (and video) are made with many many thanks to Marianne Lamont - my very helpful Australian contact - without whom they wouldn't have been possible! Thank you, Marianne!

Piano Card CASE

I love this idea! Thank you Crafty Helen! It is simple and effective - and I just would never have thought of it!
I had a lot of fun constructing this piano card for the Heart 2 Heart Challenges this week... a musical challenge. Just a note about these challenges - anyone can join in! They are run by a team of very talented Consultants in the US (I think?) and their challenges are always interesting - and it's always so good for me to push myself a little outside what I usually do.
Thanks for stopping by!

Monday, August 26, 2013

Washi Tape


The challenge on "Less is More" this week is to create a clean and simple card which utilises washi tape. I don't have any washi tape yet, although I've had a lot of fun making my own from leftover Creative Memories paper ribbon. I have used the technique which involves sticking it to scotch tape and leaving it in water until the paper is easily scraped away and leaves the design semi-transparent.
As I said, it's been fun - although I have to admit that form here it still just looks like CM paper ribbon!


Spinning Butterfly Card

I saw this fabulous idea on the "Less is More" Challenge site and I knew I just had to try it. I love how simple it was to create a moving card. I've attached a YouTube video showing how it's constructed - take a moment to view it, you'll be surprised at how easily you can create this card too!
The card is for the H2H challenge this week, which is to create a scene. The butterfly is made on the Cricut, with the CTMH Artiste cartridge.

Wednesday, August 21, 2013

Absolutely THE best teacher present ever...

... and I should know, I'm a teacher!

Alright, the first thing you have to do is go to this website: http://www.myteacherstickers.com/
Choose a few sheets of stickers and add your child's teacher's name. If you want your own custom message, go to the section of the website for schools to be able to customise their own sticker and use that. For example, I wanted "Mrs Bruce says Ka Pai" which was never going to be available on a sticker made in the USA. So I entered Mrs Bruce says as the name of the school and Ka pai as the message. Well, you will get the idea.
Stickers cost $2.69 per sheet of 42, and each sticker is about 1.5" in diameter. Postage to NZ is $4. Basically I bought eight sheets and it cost me a total of $31 NZ, which is absolutely a bargain... I actually think I overbought, but had no idea how many would come.
So ten days later your stickers will arrive in the post. Now it's time to play.
The options to dressing them up are endless. I cut the stickers into sets of nine, and KEPT the large margin at the top of the sticker sheet. For this very simple card I cut a card shape on the Cricut 4.5" tall, but folded it in a different place, giving me enough space to fold the binding round the stickers. I used my perforating blade on my trimmer and cut a perforated line at the top of the sticker sheet, and punched two holes in each one. I also punched two holes through both layers of the card and scored it where I wanted it to fold open.
I threaded bakers twine through the stickers and the card front and back, and tied a double bow on the front.
After that, it was just a case of dressing up the front.
There you go... a simple but oh so very very cool present for your child's teacher at the end of the academic year.

Interested in a workshop or party to create this really neat gift? Contact me and we can arrange it.

The YouTube video of a very similar project is here, so that you can see the process step by step:


Sunday, August 18, 2013

Sentimentally Yours

This week's challenge at Heart 2 Heart Challenges is to make the Sentiment the focus of the card. I thought about this one for ages and have come up with this wedding card. It's a 6" square card, with Elegant Soiree DSP and cardstock in Grey, Soft Suede, Not Quite Navy and Baja Breeze. The bride and groom icons come from the Artiste cartridge for the Cricut, along with the Sentiment cut and the swirly frame.

Thursday, August 15, 2013

Clean & Simple

I know it looks simple... but I found this card ultra hard to do. I tried to make a "one layer" card a while ago but struggled with the whole idea and gave up. This one follows the sketch at Clean & Simple this week, which didn't actually have to be a one layer card, but I gave myself that extra challenge. I like the end result. The colour combination is fresh and it's so simple that it could be easily recreated for a whole stack of notecards and gifts.
 

Woodland Birthday

I was asked by a lovely friend to make a special card for a special man who turns 93 this weekend. He sounds like an absolutely amazing person and the "impressed, amazed, inspired by you" is
particularly appropriate.
I cut this project on the Cricut - the pre-loaded alphabet for the numerals, and the Artiste for the circle, shield, pennant and cog. The wee owl is from Stampin Up, along with the DSP for this card, from the Woodland Walk set.
I have finally started using my Cricut Cutting Guide, which I should really have used right from the start. But desperate as I was to start creating, I didn't bother to do the research and have stuffed my first mat. By using the guide now I am making perfect cuts every time.
Do you have a Cricut? Make sure you download the Cricut Cutting Guide! It's wonderful - and FREE.
Thinking of getting a Cricut? You need to get the guide, and follow it from day one. It will save your blades and mats unnecessary maltreatment!

Wednesday, August 14, 2013

Mojo Monday 306

I haven't done a Mojo Monday challenge in years - but I wanted a sketch to start from last night, and this challenge site has a heap of wonderful ideas.
This wee card and bon bon treat box are another Cricut project, this time using Close to my Heart's Artiste cartridge. The bon bon template (which comes out with small perforations for where to score), the folded flower, the banner shape, the balloon, the rose and the pink doily are all cut on the Cricut. The sentiment is from the matching Close to my Heart stamp set.
I used Stampin Up papers for this project duo - Concord Crush, Almost Amethyst and Tea Party DSP.


Monday, August 12, 2013

Swing Birthday Card and Gift Duo

Creating a Swing Card is easy peasy on the Cricut. There are nine different designs of swing card to choose from on the Artiste cartridge. I selected the shield because I knew that I wanted to use the co-ordinating stamp set.
I cut the swing card at 5.75", which allowed me to cut the shield shape at 2" (appropriate for the stamp) and still retain the green edge around the raised shield shape.
I cut the green gift card holder at 5", which was perfect to fit a regular sized Prezzy Card into. I cut a couple of spare gift card holders at 4.5" out of the chocolate paper, giving me a perfect insert for the inside of the card. The sentiment banner I cut at 1.25", simply following the size indicated on the stamp set.

Sunday, August 11, 2013

Cricut Project

Recently we have been talking about the Cricut on our Facebook forums, and the Australian consultants are now able to order them. (We are hoping that the same thing isn't far away for New Zealand). The discussion has been really interesting, and I have enjoyed being able to share the experiences I have had with the Expression 2. It led me to make a quick video showing some of the basics of the machine so that those who have not yet had a chance to see one in action can get an idea of what it does and how.
Enjoy!
PS Apologies for the blurriness in the screen shot... it's not this bad all the way through!!!

Saturday, August 10, 2013

Blogging - a basic beginner's guide to setting a blog up

I have been talking with ladies on Facebook about setting up crafting blogs, and feel that a post about the basics of blogging is what is needed today rather than a creative post. I am no expert at this - I am not a pro-blogger. But do realise that I have a little bit of guidance to offer to those who I have been conversing with.

Why follow?
You don't have to write a blog in order to follow them. This is so much fun! It's like subscribing to your favourite crafting magazines and receiving an article or two a day. You get so many ideas and inspiration, and you can see what others are up to in the crafting community. You are not limited by geography; you can follow someone on the other side of the world or right there next door.

Why blog?
If you are a consultant, you will want to write your own blog as well as follow others'. It is a fantastic place for showing what you are working on, plus linking to other sites that customers and sister consultants will find useful.

Steps to becoming a Follower
1. I use www.blogger.com, it is simple and free. Go to the site and create a google account if you haven't one already. You need to create a Blogger profile and include a photo. You don't need to fill in every field, but the one about you is important as it will appear on your blog.
2. You are ready to start following other bloggers. Go to www.purplejo44.blogspot.co.nz and scroll down the right hand sidebar till you find the "follow" or "join this site" button. Click. You will select your Google or Blogger profile. You can do this with as many blogs as you like.
3. The orange "B" on the top left of the BlogSpot pages will take you back to your Dashboard. From your dashboard you can see all the sites you are following and link to them, plus you can see your reading list. If you use Internet Explorer, I recommend making your Dashboard one of the tabs that automatically opens when you open the internet. This way you always get to catch up on the current buzz.
How to do this: Highlight the address in the address bar when you are on your dashboard, and right button "Copy" it to your clipboard. Top right of your screen, click on the white cog (Tools), Internet Options, and right button "Paste" this address into the To create home page tabs... box. Click OK.

Steps to becoming a Blogger
4. On your Dashboard, click "New Blog". The sky is the limit!
5. The orange pencil creates a new blog post. This is like your diary entry, the daily or weekly updates that you will be adding as a committed blogger. The next button gives you a drop down menu, click on "Templates". Choose one of the pre-designed templates blogger has created and Apply this to your blog.
6. Choose "Layout" from the dropdown menu. Here you can re-organise the gadgets which are on your site next to your blog posts, and add more. I would recommend putting your "About Me" near the top, plus the gadget which allows others to follow you. You can add any or all of the gadgets found on blogger, but a word of caution here: too many gadgets makes your site confusing. The ones I would recommend you have are your Profile and the Followers one found in "More Gadgets". Here in gadgets you can add images and link them to other sites (eg your webpage) plus you can add HTML code such as the blog badges available through CTMH.
7. There is a lot more you can do here in blogger, but that is the basics covered! Browse the other options available on the drop-down menu in your Dashboard at your leisure. The stats are always interesting. Add new pages to your blog if you want something to stay permanently available to your readers rather than become part of your ongoing blog posts. Every time you add a new page it will add a tab at the top of your blog.
8. Changes can be made at any time... your blog is not set in concrete. Change the layout and design of your blog whenever you fee like it, or even the title.
9. Start using and posting in your blog.
10. Most importantly HAVE FUN!!! If you're not having fun, you're doing something wrong - so give me a call, I am happy to take the stress out of this. It's not meant to be hard.

I have tried to give a brief overview, so this is by no means a comprehensive guide. If you want more information, or if I've not given enough detail on any (or all!) of these steps, I am more than happy to help you out. My Skype name is purplejo44 and we can make contact from anywhere in the world.

Thursday, August 8, 2013

Bon Voyage!

When I looked at the Heart to Heart challenge this week I knew I had to enter it, because it's dedicated to the new consultants and customers in Australasia - that's US! Plus of course I don't need any prompting to make use of the Artiste cartridge.
This little project was made with items found on the Artiste - the Eiffel Tower, the little bag, the roses, the swirl and the ornate tag are all from the Artiste, cut on the Cricut. The papers, ribbon and sentiment is Stampin Up from the Lap of Luxury set. I used white pigment ink here to make it stand out on the deep purple background.

Wednesday, August 7, 2013

Loving the Cricut!

I know that I am going to fall deeply in love with the Artiste cartridge for the Cricut. One of the reasons being that it has so many 3D projects, which I adore. This little project was very quick to make. The Cricut cut the roses, leaves, handbag, bag pockets, and speech bubble. I then stamped the speech bubble with the matching Close to my Heart stamp in Cotton Candy.

Monday, August 5, 2013

Fun with Auntie Michele

The team at Artfull Crafts have provided us with a sketch this month to play with. I love experimenting with other people's sketches - we often get stuck doing the same kind of thing every time we stare at a blank page, and with someone's sketch I feel like I try other things.
I kept it pretty simple and just followed the suggestion as given.
This is a gorgeous wee photo of Michele and Emma taken last week at Orana Wildlife Park. I think it deserves a page all to itself, so the single-image sketch worked well.

Sunday, August 4, 2013

Just Add Digital

The Scrapbooking challenge over on Just Add Ink this month is to be either fully digital or to create a hybrid page. Mine is fully digi. I used both the examples the ladies gave us and came up with a roughly sketched layout. I then used Storybook Creator to put together a design. I used papers from the Discover palette along with the distressed overlays kit. The font is segoe script (my new favourite) and the alpha set is Holidazzle.
I love these photos. Grandad plays the trumpet and cornet, and now so do two of his grandsons. They live overseas and rarely get the chance to play together. But this winter they are visiting for six weeks and it's been so awesome hearing them play together.

Saturday, August 3, 2013

Just add a Bloke

I had a little play this afternoon with the ombre idea. The Heart 2 Heart challenge site has some great ideas for this, and there is also a YouTube video showcasing some easy ways with ombre. I masked part of the card face with Post-It notes whilst sponging the rest, and it gave me the chance to show a gradient of the same colour. I also chose to go with the masculine theme this week, as it is the challenge over on Just Add Ink.


To create this card, I used my Cricut for the tag shape, Navy Ink and Cardstock, a paper from SU and a CTMH stamp. I popped the tag up with foam squares. The card dimensions are 4" x 7.5".
(I don't know if you noticed, but I also tried to create an ombre effect in the background of my photo!)


Here is the link to the YouTube vid about the ombre technique:
https://www.youtube.com/watch?v=JkYrb6F3S0s